

A winter camping trip gave us three sleeping systems, three very different moisture outcomes — and a surprisingly useful lesson about how walls manage condensation.
I recently spent a few winter weeks camping in the outback with my family. The days were warm, the nights were cold, and our sleeping arrangements ranged from an old canvas swag to a newer plastic-backed swag and a rooftop tent.
Each morning, while rolling up the swags and packing away the tent, I became curious about where the moisture had collected overnight. After several nights in different conditions, a pattern emerged. The three sleeping systems had experienced the same basic ingredients — people, warmth, cold night air and mattresses — but they handled the resulting moisture very differently.
It was not a controlled scientific experiment. But it was a useful, very damp demonstration of an important building-physics principle: moisture problems are rarely about one material in isolation. They are about where moisture comes from, where it can travel, which cold surfaces it encounters and whether the assembly has a way to dry.
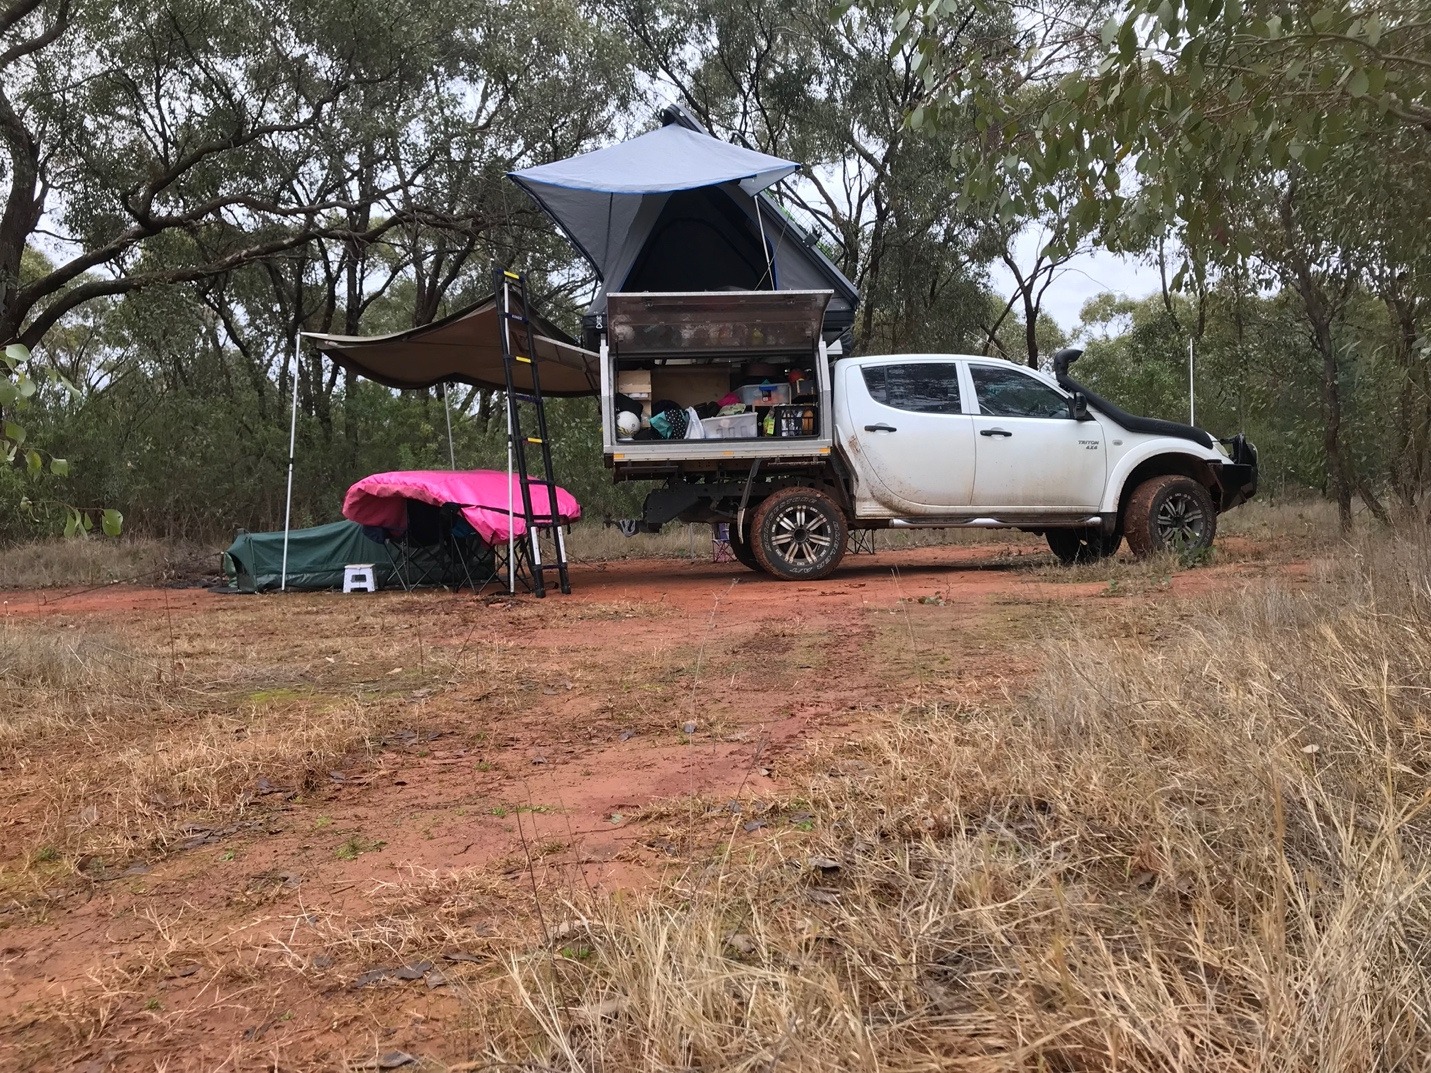
Three beds, three different moisture outcomes
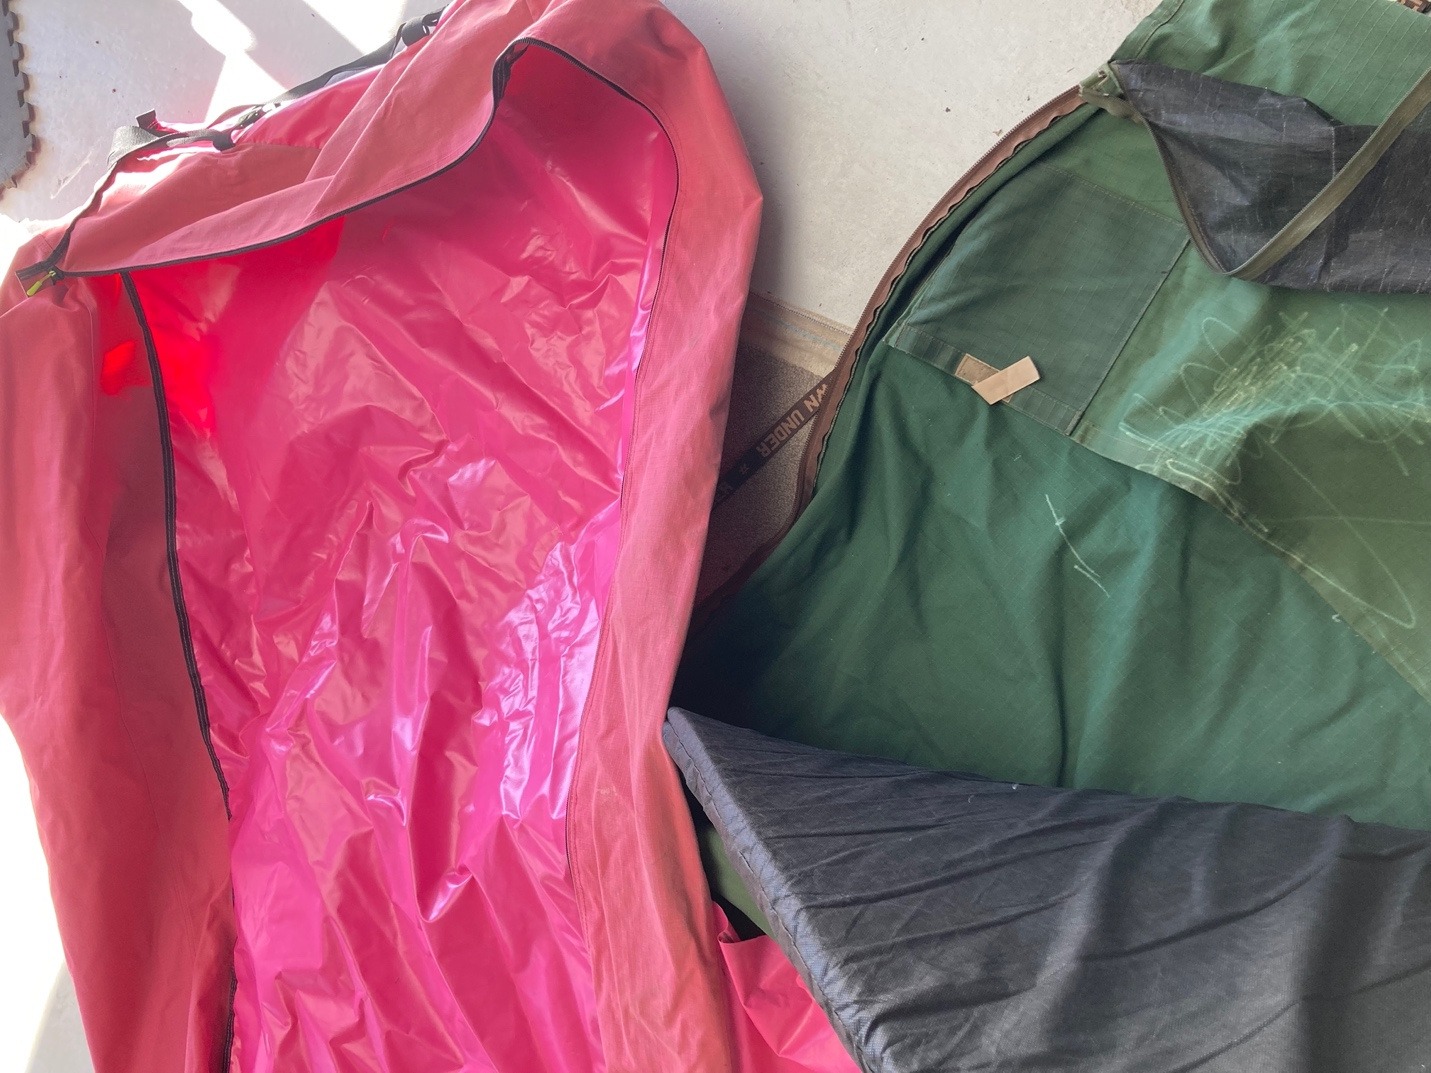
1. The old canvas swag
The first was a roughly 20-year-old canvas swag, with canvas above and below a foam mattress. In building terms, the canvas behaved as the most vapour-open of the three outer layers.
In the morning there was some dampness beneath the mattress, but no obvious pool of water or heavy droplets. Moisture had not disappeared, but the surrounding material offered greater potential for it to pass through and dry.
2. The plastic-backed swag
The second swag had canvas above and a plastic layer below the mattress. The plastic was highly resistant to both liquid water and water vapour. In the morning, a much larger amount of water had collected between the mattress and the plastic base.
The moisture had reached a cold, resistant surface and could go no farther. With the mattress restricting air movement above it, the water also had very little opportunity to dry.
3. The rooftop tent
The rooftop tent had an aluminium floor, a mattress and a thin mesh-like “dew protector” intended to create a small gap between them. Yet moisture still accumulated below the mattress.
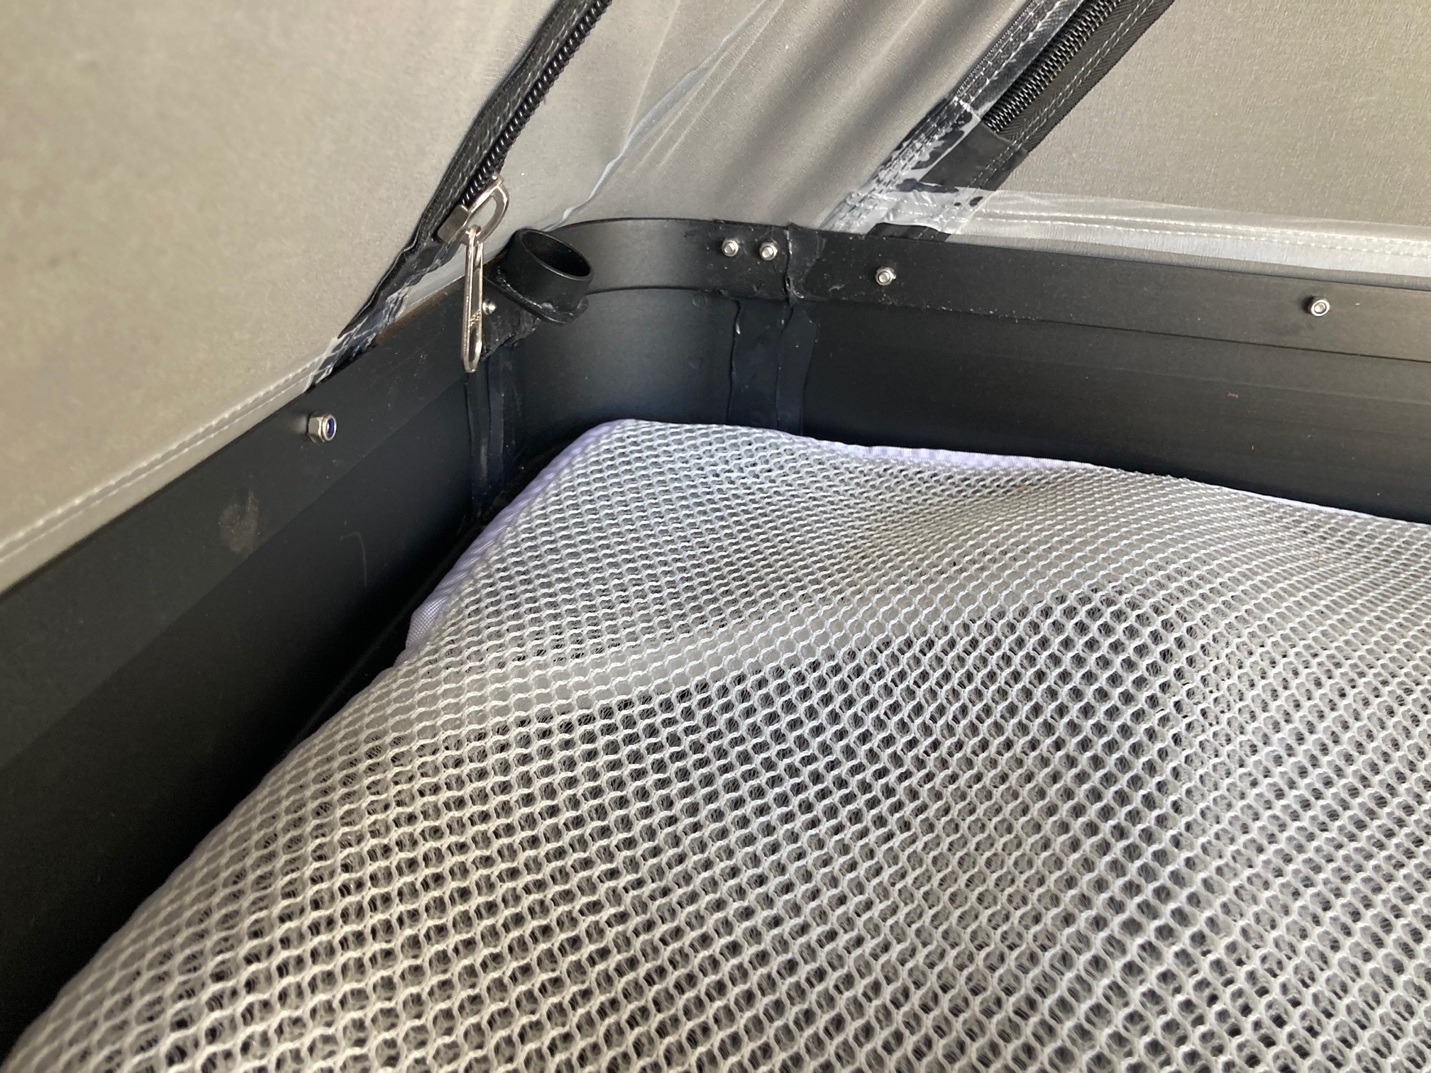
The gap alone did not solve the problem. The aluminium remained a cold, vapour-closed surface, and the confined space beneath the mattress had little useful ventilation. An air cavity only helps when it connects to a real drainage or drying path. A trapped pocket of air is not the same thing as a ventilated cavity.
What is actually moving?
Building discussions often collapse heat, air and moisture into one sentence: “moisture moves from hot to cold”. It is memorable, but it is not quite accurate enough to guide a wall design.
Heat flows from warmer areas towards colder areas. Water vapour moves with air and can also diffuse through materials in response to differences in vapour pressure. If moisture reaches a surface that is cold enough, the vapour can condense into liquid water.
There are four related but distinct things to keep straight:
- Heat flow. This influences surface and material temperatures.
- Air movement. This can carry significant quantities of water vapour through gaps, penetrations and unsealed junctions.
- Vapour diffusion. This is water vapour moving through a material because of a vapour-pressure difference.
- Liquid water. This arrives through rain, leaks, plumbing failures, construction moisture or condensation and needs drainage and drying pathways.
The Australian Building Codes Board’s Condensation in buildings handbook makes an important distinction: most water vapour in buildings is transported by moving air, while a smaller amount moves by diffusion through materials. Both matter, but they are controlled differently.
The same handbook notes that normal occupancy produces a substantial moisture load. Breathing, perspiration, cooking, washing and showering can add kilograms of water vapour to a home each day. The tent was simply a tiny, highly concentrated version of an occupied building: warm people producing moisture inside a lightweight enclosure on a cold night.
So what does this have to do with wall wraps?
The canvas swag loosely resembles an assembly with a more vapour-permeable outer layer: moisture that enters the assembly has a better chance of drying through it. The plastic-backed swag and aluminium tent floor resemble assemblies containing a highly vapour-resistant layer on the cold side, with limited drying capacity.
But this is where the analogy needs guardrails. A wall is not a swag, and “vapour-open” does not automatically mean good while “vapour-closed” means bad.
A wall also has cladding, flashings, insulation, framing, internal linings, junctions, penetrations, wind pressure and rain exposure. Climate matters. So do indoor humidity, heating and cooling patterns, the position of insulation and the location of every control layer.
Foil sarking, for example, is relatively vapour-resistant. That can be useful in some assemblies and problematic in others. The correct question is not “Is foil bad?” It is:
If moisture gets into this assembly, where will it go — and how will the assembly dry?
A successful wall controls rainwater, limits uncontrolled air leakage, manages vapour in a way that suits the climate and maintains enough drying capacity for inevitable imperfections. For a closer look at the product choice, see our guide to sarking versus vapour-permeable membranes in cool climates.
Airtight does not mean vapour-closed
This is one of the most useful distinctions in high-performance construction.
Airtightness describes how well the enclosure limits air leaking through gaps. Vapour permeability describes how readily water vapour can diffuse through a material. They are not the same property.
An assembly can be carefully detailed to control air leakage while still allowing vapour to diffuse outward through selected layers. Conversely, a vapour-resistant membrane can perform poorly as an air barrier if its laps, penetrations and edges are not sealed.
That matters because air leakage can transport more moisture into a wall than diffusion alone. Specifying a “breathable” wrap does not rescue an assembly with uncontrolled air paths, and an airtight enclosure still needs ventilation to manage indoor moisture and maintain healthy air quality.
Five questions to ask before choosing a wall wrap
- Where is the moisture coming from? Consider indoor humidity, rain, construction moisture and plumbing — not only vapour diffusion.
- Where are the cold surfaces? Look at sheathing, metal layers, thermal bridges and poorly insulated junctions where condensation may occur.
- How is air leakage controlled? Identify the continuous air-control layer and check the joins, edges, windows, doors and penetrations.
- How can the assembly dry? Do not assume that adding an air gap creates ventilation. Confirm where air or drained water can actually enter and leave.
- Does the strategy suit this climate and building? The same membrane arrangement will not perform identically in every Australian climate, orientation or occupancy pattern.
The lesson from underneath the mattress
The water beneath the plastic-backed swag was not there because plastic is inherently a bad material. It was there because moisture reached a cold, resistant surface inside a space with almost no drying pathway.
That is the useful building lesson. Condensation risk is created by the whole assembly: moisture load, temperature, airflow, vapour resistance, drainage and drying capacity working together.
A wall wrap should therefore never be selected as an isolated product tick-box. It should be part of a deliberate enclosure strategy that answers three questions: what are we keeping out, what are we controlling, and where can the assembly safely dry?
Unsure whether a wall or roof build-up has a safe drying strategy? Powerhaus can review foil layers, insulation, junctions and ventilation pathways before they become a condensation problem on site.
Technical note: This article provides general information only. Condensation risk depends on climate, exposure, indoor humidity, material properties, construction quality and the complete wall or roof assembly. Project-specific advice should be obtained before selecting a membrane or changing an enclosure detail.